Gear Care - Waterproof Layers
Keeping waterproof gear waterproof
Here in the Pacific North West, keeping dry while playing outside is an essential yet ephemeral joy. Many people think that they need to buy new waterproof gear the moment their jacket, pants, or rain fly become unable to bead up and wick away rain the way it did the day they bought it. This is untrue! Let’s keep that gear going with some simple maintenance so you can continue to enjoy yourself in this wet and wonderful home.
Gore-Tex is perhaps the most well known waterproof material and is used by many brands.
Step 1: Clean gear is waterproof gear.
- When we wear our gear during intense activity, body oil and sweat soak into the inner fabric. This causes the lining of our clothing to bog down with grime. This will inhibit the natural breathability of the garment and keep the internal water vapor (sweat) from escaping through the porous membrane to the outside as it is designed to.
- Dirt can also inhibit the outside of the product from keeping you dry as well and it will alter the effective structure of the DWR (Durable Water Repellent) coating as well. From the Gore-Tex website: “…an effective DWR treatment keeps water droplets at a high contact angle with the fabric of the rainwear. This minimizes the surface area of the wetted fabric and better allows water droplets to roll off. Less water on the outer fabrics allows the technical waterproof fabric to breathe its best which helps keep you more comfortable.”
- It is recommended to wash your gear every 4-5 weeks or more if it is in heavy use.
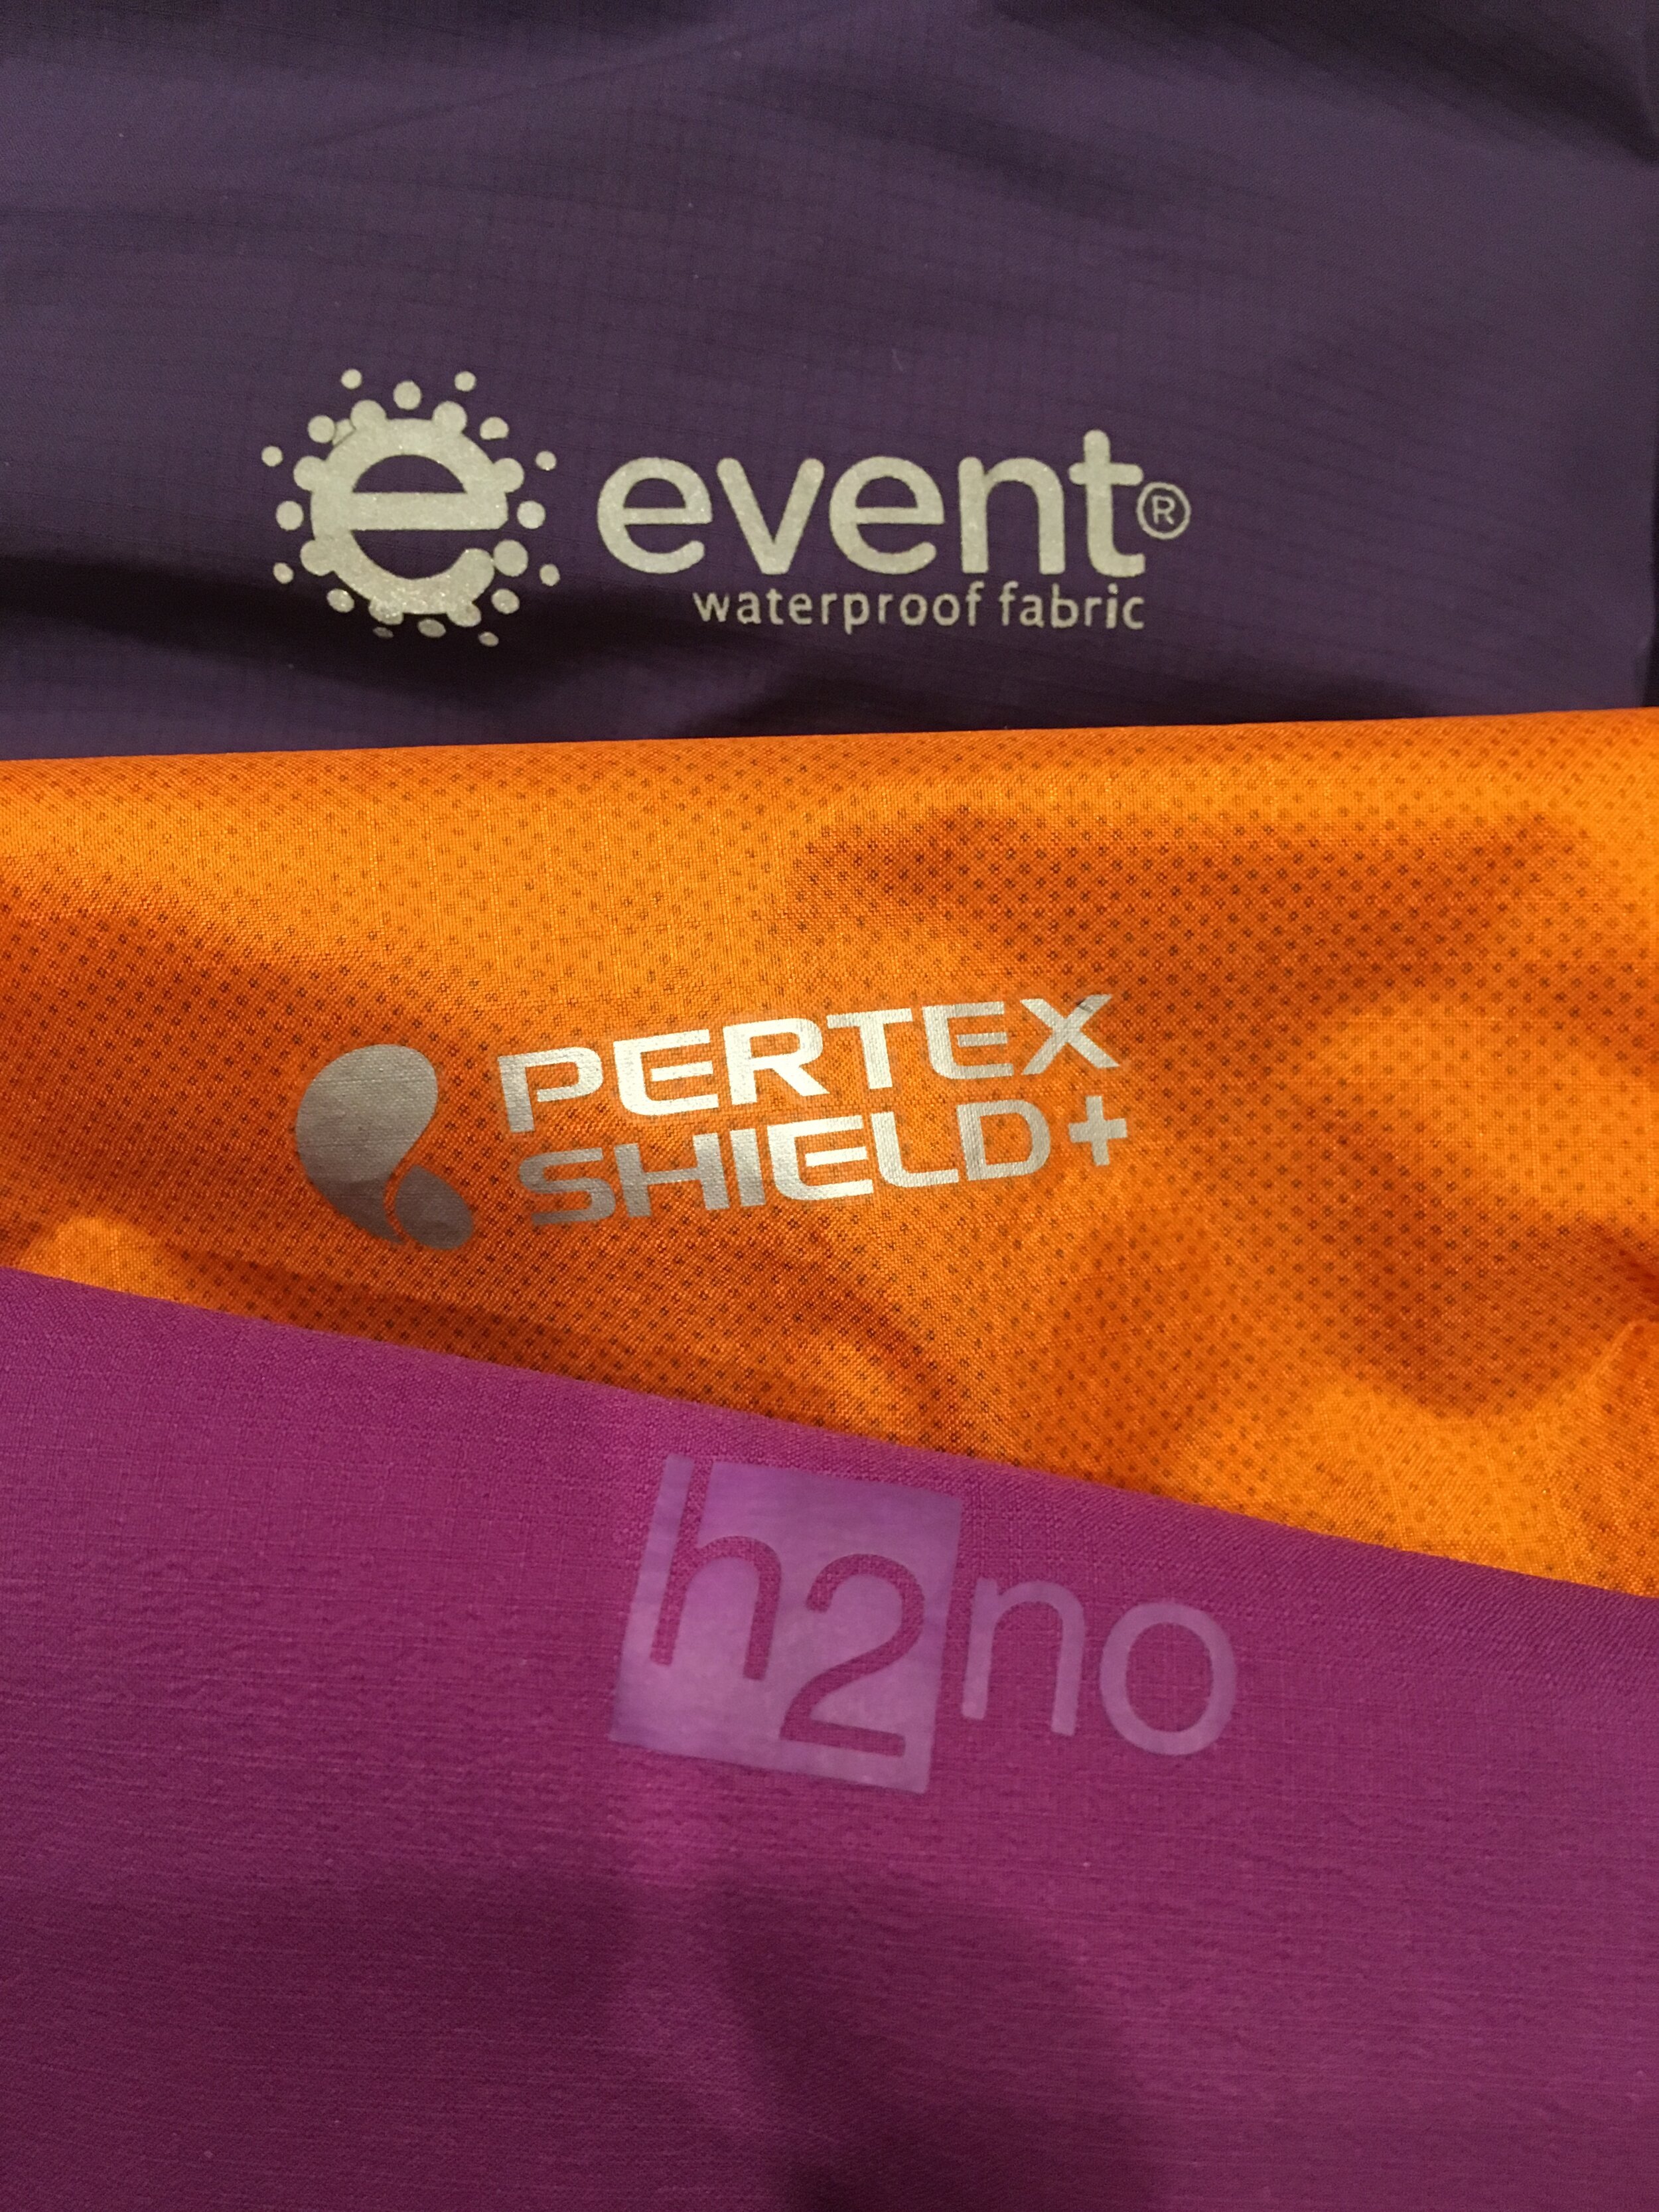
Other waterproof materials. Some brands have their own propriety material, like Patagonia’s H2No. Gore-Tex, Pertex, and E-vent, are all materials that are used by many different companies.
Step 2: Washing your stuff!
- Nikwax Tech Wash is a fantastic, gentle detergent for your technical outerwear. It is recommended that you use a front loading washing machine for this process, but if you are using a top loading machine, make sure that the machine is full of water before adding your detergent.
- Set your machine on Heavy, or synthetic if your machine has the option, and wash with warm water. Add a capful of detergent per item for up to three items. It is recommended to double the detergent amount if you live in an area with hard water.
- Check the label of your item to see if there is specific drying instructions, otherwise dry for 10-20 mins on medium heat, then hang it up to dry the rest of the way. The heat will help activate your DWR coating.
Step 3: DWR coating.
- Once you have cleaned your item, test the DWR coating by sprinkling water on the outside of the item. If it does not bead up and roll off, you can try adding spray on DWR. Spray on is recommended because DWR is something that only needs to be on the outside of your gear, and when you use wash in, it indiscriminately coats the entire item.
- After applying spray on DWR, tumble dry on low heat for 10-20 mins to activate the DWR coating.
Step 4: Check your seams.
- A likely place for water to seep through your gear is through the seams. Check the inside of all the seams of your item and make sure they are intact. If they are not intact, you can use products such as Gear Aid Seam Grip to get them back in working order.
Step 5: Check for holes!
- Last but not least, check your entire item to see if there are holes or abrasions which might be letting in unwanted moisture. For holes, we recommend Gear Aid Gore Tex Fabric Patches and for abrasions it is best to use Tenacious Tape.
Even if you were to go out and buy everything in this tutorial you would still fall well short of the price of a new waterproof technical garment. It’s worth the money and it helps keep your gear from the landfill!


